
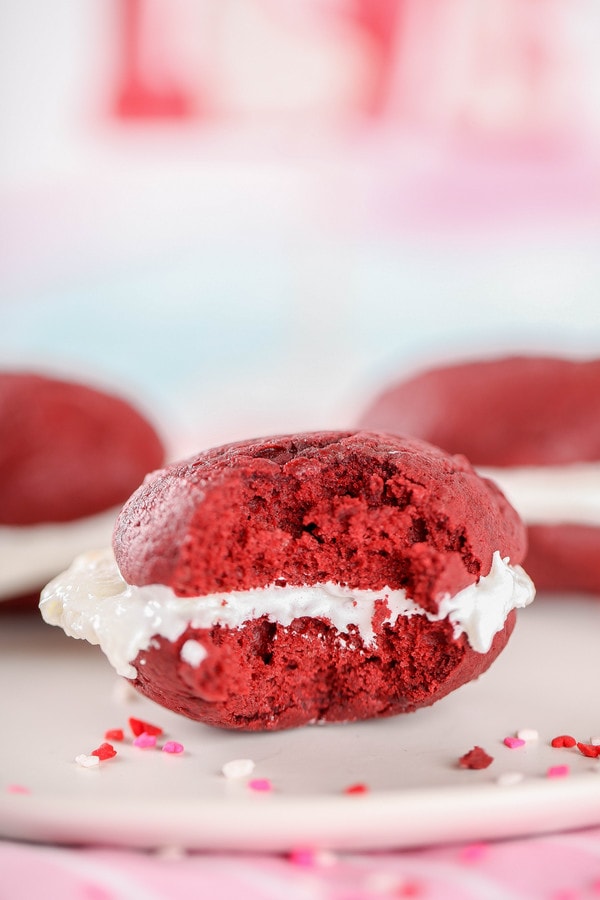
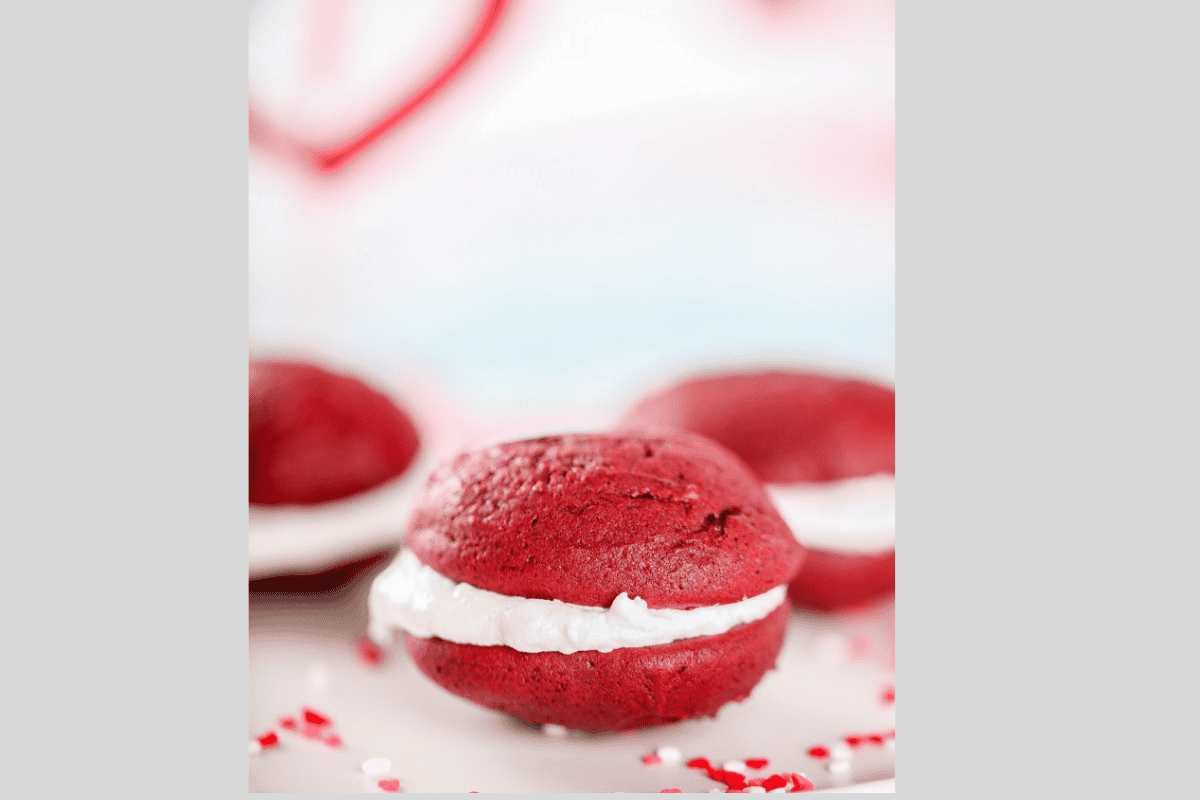
Red Velvet Whoopie Pies
My easy red velvet whoopie pies are made with soft melt in your mouth red velvet cake and rich cream cheese frosting. This tastes like red velvet cake, but is so much faster and easier to make.
I love red velvet cake. I've previously shared fun twists like red velvet poke cake and red velvet oreo cheesecake. These red velvet whoopie pies are perfect if you don't want to mess with stacking and frosting a giant cake. Best of all no special pan is required.
Why This Recipe Works: A Sprinkle of Food Science
- Buttermilk: This adds that classic red velvet tang and moistness. Bonus: Baking soda (a base) reacts with the acid in buttermilk to help them rise.
- A Small Amount of Cocoa: We tested various amounts and found 2 tablespoons to be the sweet spot. It gives us a mild chocolate flavor without full on tasting like chocolate cake.
- Natural Cocoa Powder: Natural cocoa powder which is a acidic reacts with the baking soda and ensures the color stays bright red.
Ingredient Notes and Shopping Tips
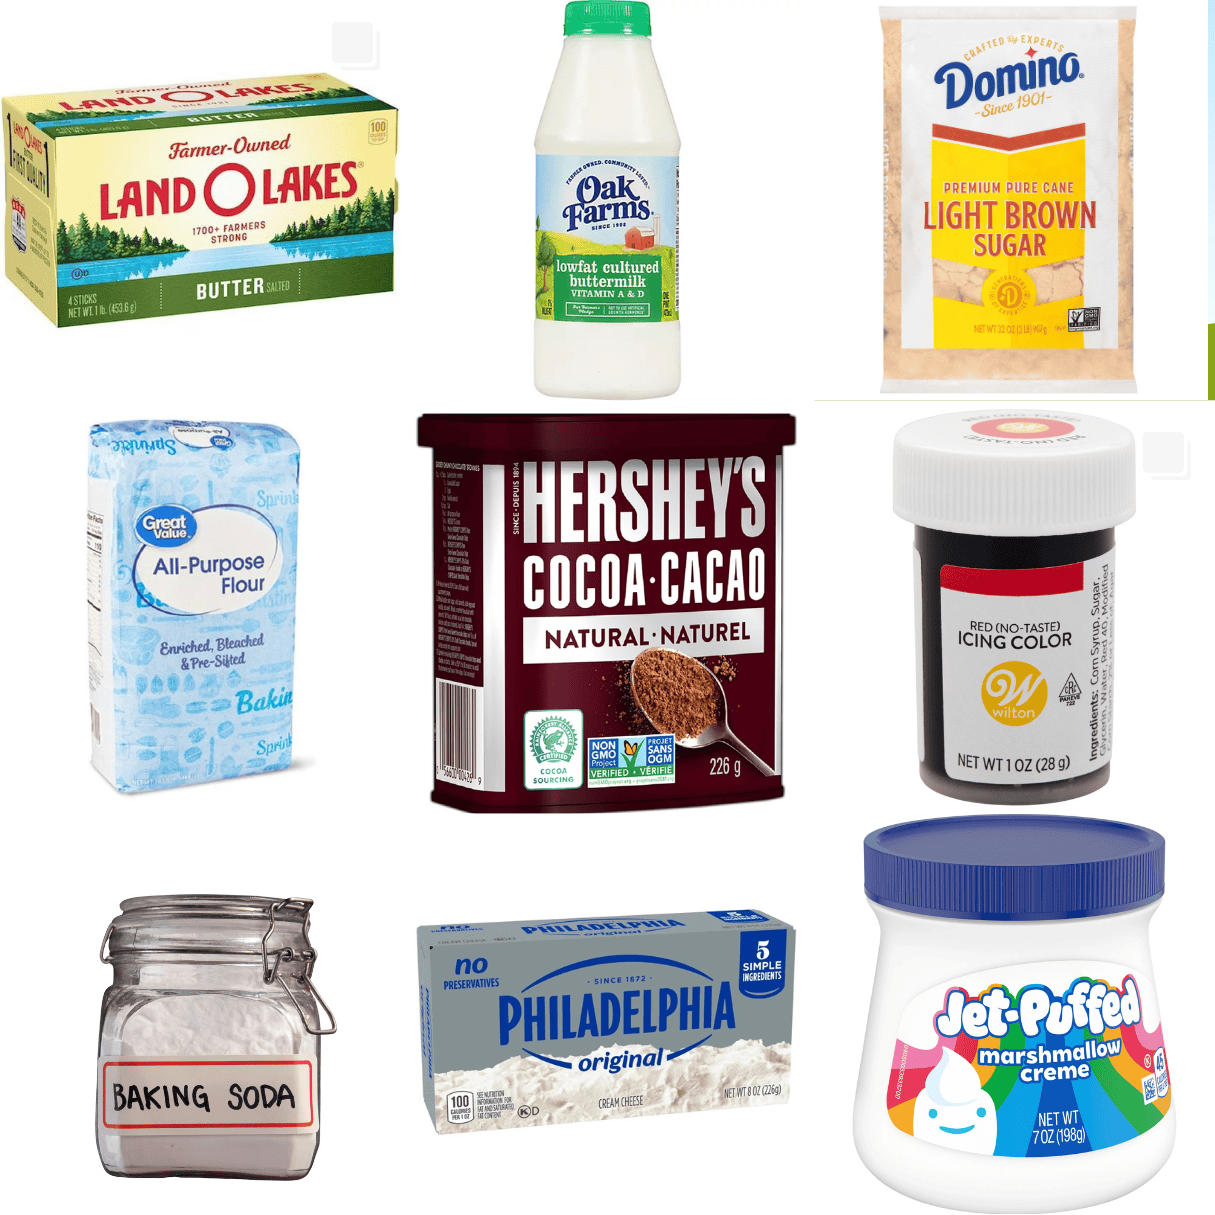
- Butter: Butter adds rich flavor and a melt in your mouth texture. Be sure it's softened, not fresh from the fridge or melted. The sweet spot is when your finger makes an indent when lightly pressed.
- Egg: Bring to room temperature to help everything mix together smoothly. Short on time? Place in a glass of warm water for 5-10 minutes.
- Buttermilk: You can also make your own buttermilk with ½ and ½ tablespoon of vinegar or lemon juice.
- Flour: Spoon into your measuring cup and and then level with a knife. Do NOT dip your cup into the flour or you'll overmeasure which will make the cakes dry.
- Cocoa Powder: Cocoa powder really matters here. Use natural cocoa powder only. It keeps the color bright and since its acidic helps with rise. Avoid Dutch Process which can interfere color and leavening.
- Baking Soda: Replace every 6-12 months even if the date on the package is okay. I write the date I open it on the lid and toss after around 6 months.
- Red Food Coloring: I like using Gel as it gives the best color without a ton of liquid. Wilton No Taste Red is my go to.
- Marshmallow Fluff: Measure this super easily by spraying your measuring cup and utensils with nonstick spray. It will slide right out!
- Cream Cheese: Make sure this is softened as well. Room temp. at 30-60 minutes should be fine, or dunk the sealed foil back in warm water for ~10 minutes.
Krystle's Tips: Steal My Culinary School Secrets
- Don't Overmix: Stir until the flour just disappears. Overmixing can lead to a tough dense cake.
- Use a Cookie Scoop: I use a medium cookie scoop. This ensures they'll fit together perfectly and bake at the same rate.
- Press Down Gently Before Baking: I just use my hand but a round glass can do the trick too. This will help prevent doming. .
- Don't Overbake: They're done when the tops look set and spring back when touched. A tooth pick inserted should come out with just a few crumbs too. Overbaking will dry them out.
Try These Dessert Next
Still Hungry? Follow Baking Beauty on Pinterest, and Instagram so you don’t miss a recipe. Subscribe to our newsletter too.
📖 Recipe

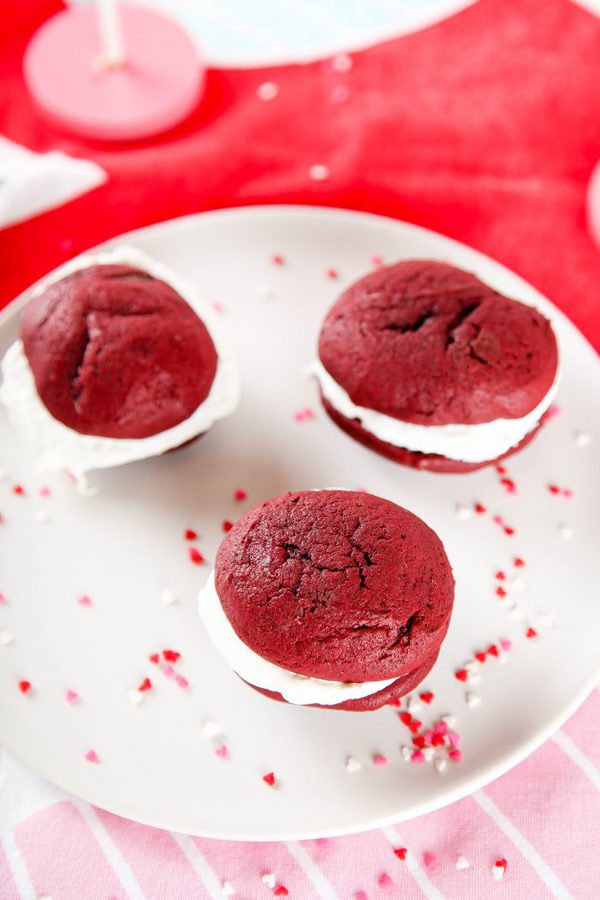
Red Velvet Whoopie Pies
Melt in your mouth red velvet whoopie pies with cream cheese frosting smooshed in between. Tastes like red velvet cake, but takes half the time and effort!
Print
Pin
Rate
Servings: 15 Whoopie Pies
Calories: 276kcal
Want to Save This Recipe?
Enter your email & I'll send it to your inbox. Plus, get great new recipes from me every week!
Ingredients
For the Red Velvet Whoopie Pies
- ½ Cup Butter Softened
- 1 Cup Brown Sugar Packed
- 1 Egg
- 2 Teaspoons Vanilla Extract
- ½ Cup Buttermilk
- 2 Cups All Purpose Flour
- 2 Tablespoons Unsweetened Cocoa Powder
- ½ Teaspoon Baking Soda
- ¼ Teaspoon Salt
- 1-2 Teaspoons Red Gel Food Coloring
For the Cream Cheese Frosting
- ¼ Cup Butter Softened
- 4 Ounces of Cream Cheese Softened
- 7 Ounces Marshmallow Creme
- Pinch of Salt To Taste
Don't lose this recipe. Pin for later!
Instructions
For the Red Velvet Whoopie Pies
- Preheat oven to 375 degrees F. Line 2 cookie sheets with parchment paper.
- In a large bowl, cream butter and sugar until light and fluffy.
- Stir in egg, vanilla extract, baking soda, salt, buttermilk, and cocoa powder.
- Gradually add flour a little at a time until just combined. Do not over mix.
- Stir in food coloring.
- Use a cookie scoop to drop batter onto prepared pans. Use a greased hand to gently flatten each scoop of dough.
- Bake for 10-12 minutes or until the tops are just set.
- Cool completely.
For the Marshmallow Cream Cheese Filling
- In a medium bowl, mix butter, salt and marshmallow cream until smooth. Fold in marshmallow creme.
- Spread one whoopie pie with ~1 tablespoon of frosting. Top with a second whoopie pie.
Nutrition
Calories: 276kcal | Carbohydrates: 39g | Protein: 3g | Fat: 12g | Saturated Fat: 7g | Cholesterol: 44mg | Sodium: 197mg | Potassium: 72mg | Sugar: 23g | Vitamin A: 415IU | Calcium: 36mg | Iron: 1mg
Tried this recipe? I want to see!Mention @BakingBeautyBlog or tag #BakingBeauty!


Great way to switch up whoopie pies! Red Velvet is delicious!
This was delish! Adding it to our rotation for dinner parties!
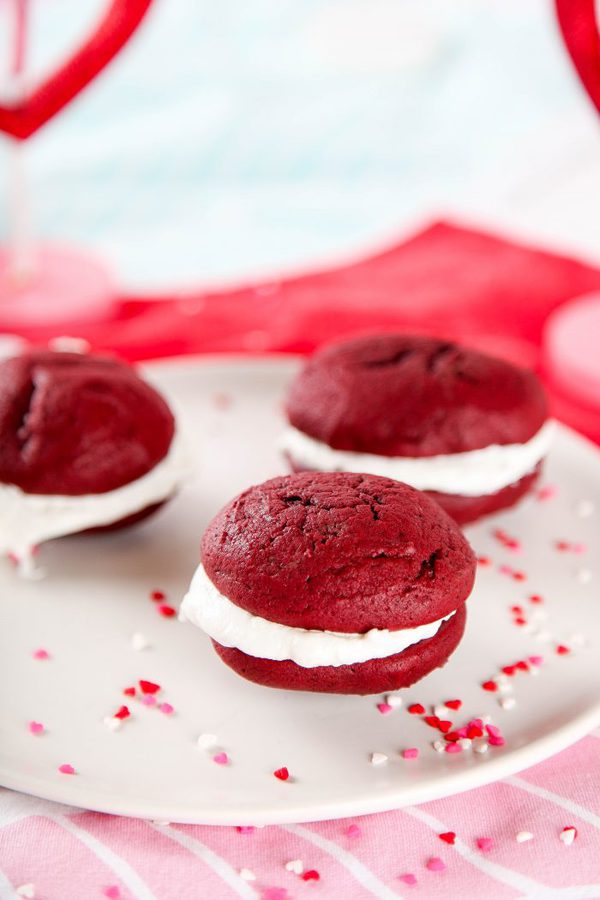
These red velvet whoopee pies were such a treat! Soft, fluffy, and with that cream cheese frosting in the middle, they made them absolutely irresistible! Just like red velvet cake, but so much better.
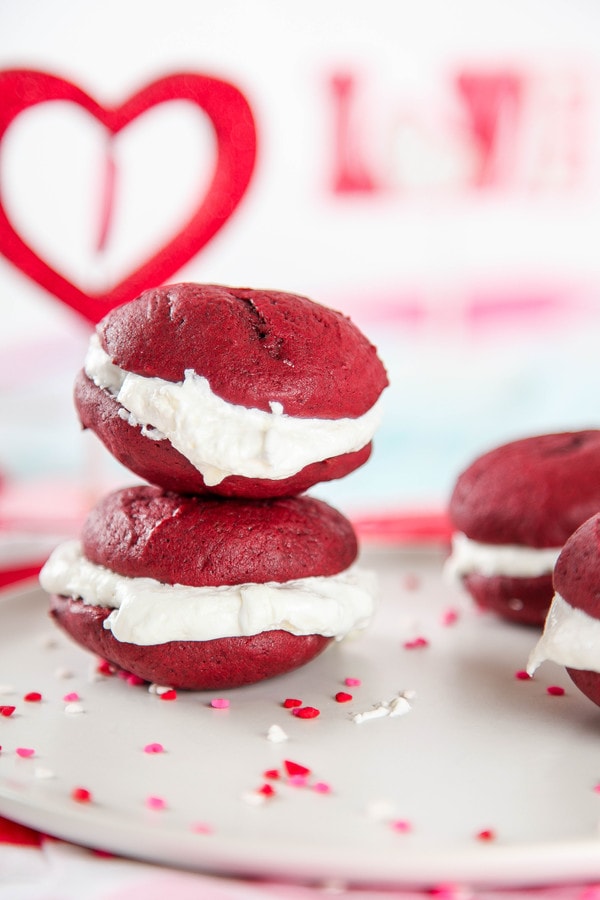
I just sent the Mr. off to work with all the sweet treats in our house in an attempt to rid the house of all the sugary temptations. . .then this pops across my screen and I suddenly find myself craving cake once again. The red velvet cakey cookies hugging that dreamy cream is just too much to resist. But since Valentines Day is just around the corner. . .it's okay to give in, isn't it? 😉
Lucky Mr! Yessss it's Valentine's Day. If that isn't the excuse to treat yourself to chocolate or red whoopie pies I don't know what is! 😀